
Are you tired of small problems around your house that seem to never get fixed? This guide will help you learn how to do simple repairs in home by yourself. With just a few tools and some easy steps, you can fix common issues like leaks, squeaks, and cracks. Let’s dive into ten DIY fixes that anyone can master today!
Key Takeaways
- You can save money by doing repairs in home yourself.
- Most repairs only need basic tools and materials.
- Learning to fix things boosts your confidence.
- Regular maintenance can help prevent bigger problems.
- DIY fixes can make your home more comfortable.
1. Leaky Faucet
A leaky faucet can be more than just a minor annoyance; it can waste a lot of water and increase your bills. Fixing it is easier than you think! Here’s how you can tackle this common problem:
- Identify the Leak: Check if the leak is coming from the faucet handle or the spout.
- Gather Your Tools: You will need a wrench, screwdriver, and replacement washers or O-rings.
- Turn Off the Water Supply: Before you start, make sure to turn off the water supply to avoid any mess.
- Disassemble the Faucet: Use your tools to take apart the faucet carefully.
- Replace the Damaged Parts: Look for worn-out washers or O-rings and replace them with new ones.
- Reassemble and Test: Put everything back together and turn the water supply back on to check if the leak is fixed.
| Step | Action | Tools Needed |
|---|---|---|
| 1 | Identify the leak | None |
| 2 | Gather tools | Wrench, screwdriver |
| 3 | Turn off water | None |
| 4 | Disassemble faucet | Wrench, screwdriver |
| 5 | Replace parts | New washers/O-rings |
| 6 | Reassemble | Wrench, screwdriver |
Remember, a small leak can lead to bigger problems if not fixed quickly. Don’t hesitate to reach out for help if you need it! For those looking for affordable home service financing options, consider contacting professionals who can assist you with plumbing issues. They offer expert solutions to ensure your home stays in top shape.
2. Clogged Drain
A clogged drain can be a real hassle in any home. Fortunately, fixing it is often easier than you think! Here are some common causes of clogged drains:
- Hair and soap buildup
- Food particles in the kitchen sink
- Grease accumulation
To tackle a clogged drain, follow these simple steps:
- Boil water and pour it down the drain to help dissolve grease.
- Use a plunger to create suction and dislodge the clog.
- If that doesn’t work, try a drain snake to remove the blockage.
If you need professional help, consider contacting Ruach Home Services, which offers reliable drain cleaning, clog removal, and hydro jetting services to ensure smooth plumbing in homes across the District of Columbia, Maryland, and Virginia. Their expert technicians use advanced techniques and equipment for thorough inspections and effective solutions.
Remember, regular maintenance can prevent clogs from happening in the first place!
3. Squeaky Door
Squeaky doors can be really annoying, but fixing them is easier than you might think. A little petroleum jelly can work wonders to silence that irritating noise. Here’s how you can do it:
- Identify the squeaky hinge: Open and close the door to find out which hinge is making the noise.
- Apply petroleum jelly: Use a small amount of petroleum jelly on the squeaky hinge. It will seep into the hinge and stick well, so it won’t just run off.
- Open and close the door: Move the door back and forth a few times to help the jelly spread evenly.
If the squeak continues, you might need to try a different lubricant, like WD-40. Here’s a quick comparison of options:
| Lubricant | Duration of Effect | Ease of Application |
|---|---|---|
| Petroleum Jelly | Long-lasting | Easy |
| WD-40 | Short to Medium | Very Easy |
| Silicone Spray | Long-lasting | Easy |
Remember, a quiet door can make your home feel more peaceful!
4. Broken Tile
Broken tiles can be a common issue in many homes, but fixing them is easier than you might think. Repairing a broken tile can save you money and improve the look of your space. Here are some steps to help you get started:
- Assess the Damage: Check if the tile is cracked, chipped, or completely broken.
- Gather Your Tools: You will need epoxy, sandpaper, and a putty knife.
- Patch the Tile:
- Fill the crack or chip with liquid epoxy.
- Lightly sand the area after it dries.
- Repeat the epoxy and sanding process until the area is smooth.
Tips for Success
- Make sure to clean the area before applying epoxy.
- Choose a color that matches your tile for a seamless look.
- Allow enough drying time for the epoxy to set properly.
Remember, a little patience goes a long way in DIY repairs!
5. Drafty Window
Drafty windows can make your home uncomfortable and increase your energy bills. Fixing these leaks is easier than you think! Here are some simple steps to help you seal those gaps:
- Identify the Draft: On a windy day, hold a candle or a stick of incense near the window. If the smoke moves, you have a draft.
- Clean the Area: Use an all-purpose cleaner to wipe down the window frame. This helps the materials stick better.
- Choose Your Method: Depending on your needs, you can use:
- Adhesive-backed foam tape
- Weather stripping
- Weighted curtains
Quick Tips:
- Check for gaps around the window frame.
- Use a caulking gun for larger spaces.
- Consider using a window film for extra insulation.
Sealing your windows not only keeps your home cozy but also helps you save money on heating costs.
By following these steps, you can easily tackle the problem of drafty windows and enjoy a more comfortable living space!
6. Wobbly Chair
A wobbly chair can be annoying, but fixing it is easier than you think. Follow these simple steps to make your chair sturdy again. First, check the legs of the chair to see if they are loose. If they are, you may need to tighten the screws or bolts. If the legs are damaged, you might have to replace them.
Here’s a quick guide to help you fix a wobbly chair:
- Inspect the chair: Look for any loose parts or broken pieces.
- Tighten screws: Use a screwdriver to tighten any loose screws or bolts.
- Re-glue joints: If the chair is still wobbly, you may need to disassemble it and re-glue the joints. Make sure to let the glue dry completely before using the chair again.
After you’ve made the repairs, check for any scuffs or marks. Most small scuffs can be cleaned with a lint-free cloth. If there are old nail holes, patch them up to make your chair look new again.
Remember, a sturdy chair not only looks good but is also safe to use!
7. Stuck Drawer
A stuck drawer can be a real hassle, but fixing it is often easier than you think. Start by checking for any visible obstructions that might be causing the drawer to jam. Here are some common reasons why a drawer might get stuck:
- Debris: Dust, crumbs, or other small items can get lodged in the tracks.
- Misalignment: Sometimes, the drawer may not be properly aligned with the frame.
- Wear and Tear: Over time, the hardware can wear out, causing issues.
To fix a stuck drawer, follow these steps:
- Remove the drawer from the frame.
- Clean the tracks and the bottom of the drawer thoroughly.
- Check for any broken parts and replace them if necessary.
- Reinsert the drawer and ensure it slides smoothly.
Remember, a little maintenance can go a long way in keeping your furniture functional and looking good. If you need professional help, consider reaching out to Ruach Home Services, known for their elite bathroom renovations and other home repair services.
8. Loose Cabinet Handle
A loose cabinet handle can be annoying, but fixing it is quite simple. You can do it yourself with just a few tools! Here’s how:
- Gather Your Tools: You will need a screwdriver, a replacement screw (if necessary), and possibly some wood glue.
- Check the Handle: Look at the handle to see if it’s just loose or if it’s broken. If it’s loose, you can tighten it. If it’s broken, you might need to replace it.
- Tighten the Screws: Use the screwdriver to tighten the screws on the handle. If the screws are stripped, you may need to replace them.
- Replace the Handle: If the handle is damaged, remove it and install a new one. Make sure to align it properly before tightening the screws.
Here’s a quick table to help you remember the steps:
| Step | Action |
|---|---|
| 1 | Gather your tools |
| 2 | Check the handle |
| 3 | Tighten the screws |
| 4 | Replace if necessary |
Fixing a loose cabinet handle is a small task that can make a big difference in your kitchen or bathroom. It’s a simple way to keep your home looking neat and tidy.
Remember, if you need help with more complex repairs, consider reaching out to professionals who offer remodeling services for your home. They can assist with everything from kitchen updates to bathroom renovations, ensuring your space is both functional and stylish.
9. Cracked Wall
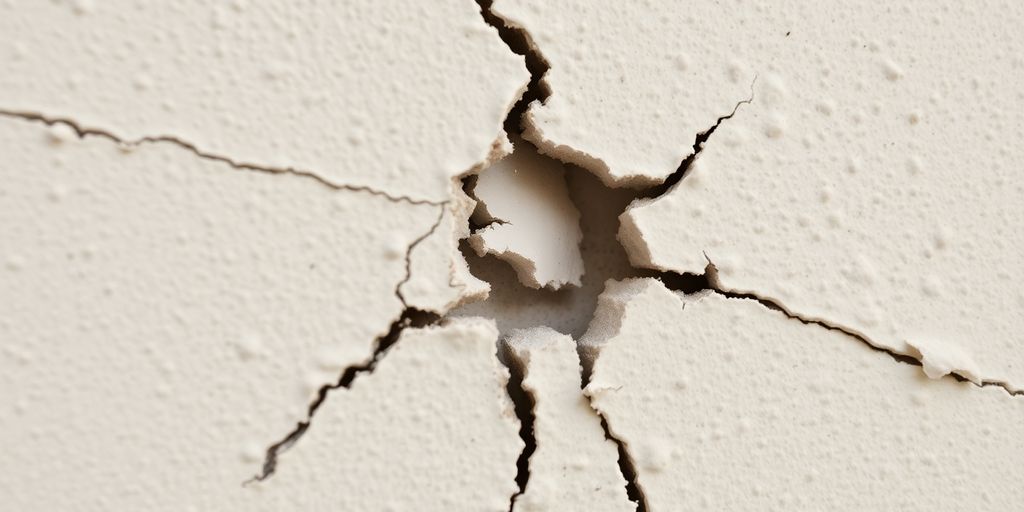
Cracked walls can be a common issue in many homes. Fixing these cracks is essential to maintain the appearance and integrity of your walls. Here’s how you can tackle this problem:
- Identify the Type of Crack:
- Gather Your Materials: You will need:
- Repair the Crack:
Remember, if the cracks are large or seem to be getting worse, it might be best to consult a professional.
By following these steps, you can effectively repair cracked walls and improve the look of your home. For more detailed guidance, consider checking out elite drywall projects by Ruach Home Services, which specializes in damage restoration and remodeling. They can help with everything from water damage restoration to complete home remodeling.
10. Faded Paint
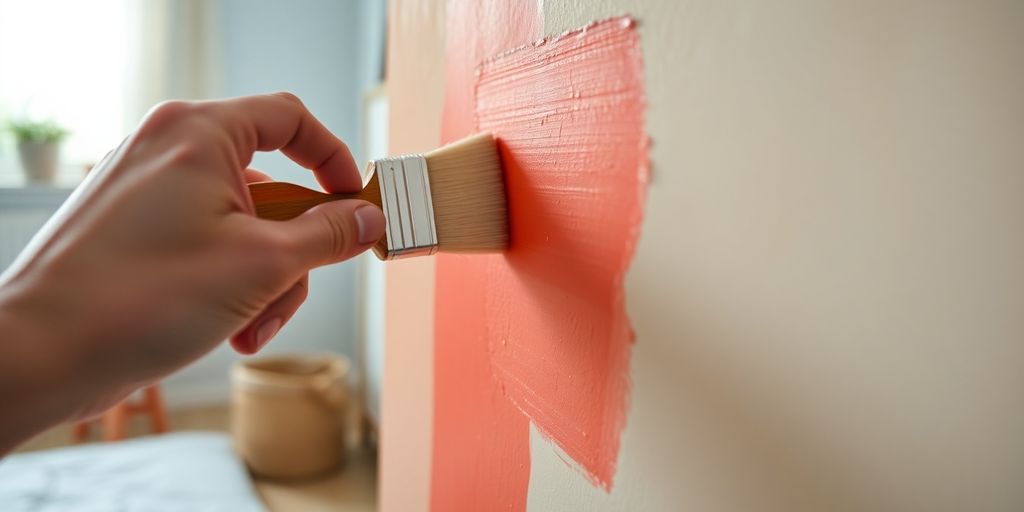
Faded paint can make your home look old and worn out. Touching up faded areas can bring new life to your walls. Here’s how to do it:
- Clean the Surface: Before you fix anything, clean the surface with a sponge, mild detergent, and water. Wiping down the surface will remove any residual dirt, grime, or dust that could affect the new paint.
- Choose the Right Paint: Make sure to select a paint that matches the existing color. You can take a sample to the store for a perfect match.
- Apply the Paint: Use a small brush to carefully apply the paint to the faded areas. Try to blend it in with the surrounding paint for a smooth finish.
Tips for a Great Finish
- Use a primer if the area is very faded.
- Work in small sections to avoid mistakes.
- Allow each coat to dry completely before adding more.
A little effort can make a big difference in how your home looks!
If your paint is looking dull and worn out, it might be time for a refresh! Faded paint can make your home feel less inviting. Don’t wait too long to bring back the vibrancy of your walls. Visit our website today to learn how we can help you restore your home’s beauty!
Conclusion
In conclusion, taking on home repairs can be a fun and rewarding experience. With just a few simple tools and some basic skills, you can tackle many common problems around the house. Whether it’s fixing a leaky faucet or patching up a wall, these DIY projects not only save you money but also give you a sense of accomplishment. Remember, practice makes perfect, so don’t be afraid to try new things. With the tips in this guide, you’re well on your way to becoming a home repair expert!
Frequently Asked Questions
What tools do I need for these repairs?
Most repairs need basic tools like a screwdriver, pliers, and a wrench. You might also need some tape or glue depending on the fix.
How long will these repairs take?
Most of these fixes can be done in under an hour. Some might even take just a few minutes!
Are these repairs safe for beginners?
Yes! These repairs are simple and safe for beginners. Just follow the steps carefully.
What if I can’t fix it myself?
If you’re having trouble, it’s okay to ask a friend or call a professional for help.
Can I find videos to help me?
Absolutely! There are many helpful videos online that show you how to do each repair step by step.
Will I need to buy special parts?
Sometimes, you might need to buy a part, like a new faucet washer or a tile. Most of these are easy to find at a store.