
Water leaks in your home can lead to serious issues, including damage to your property and increased water bills. Understanding how to effectively restore leaks is essential for every homeowner. This article provides essential tips for leak restoration, helping you identify leaks, take preventative measures, and perform repairs. By following these guidelines, you can save water, reduce costs, and maintain a safe living environment.
Key Takeaways
- Identify common leak sources like faucets and pipes.
- Always turn off the water supply before starting repairs.
- Use quality materials and tools for effective repairs.
- Monitor for leaks after restoration to ensure success.
- Regular maintenance can help prevent future leaks.
Identifying Common Sources of Leaks
Water leaks can happen for many reasons, and knowing where to look is key to preventing them. Identifying the sources of leaks early can save you time and money. Here are some common areas to check:
Inspecting Faucets and Pipes
- Look for drips or puddles around faucets and pipes.
- Check for rust or corrosion, which can indicate a leak.
- Pay attention to the seals and gaskets, as they can wear out over time.
Checking Toilets and Water Heaters
- Inspect the toilet tank and bowl for any signs of water pooling.
- Listen for hissing sounds, which may indicate a leak in the toilet.
- Examine the water heater for any leaks or moisture around the base.
Using Tools for Leak Detection
- Utilize a moisture meter to find hidden leaks in walls or floors.
- Dye tablets can help identify leaks in toilets by adding color to the water.
- Regularly monitor your water meter for unusual changes when no water is being used.
By being proactive and checking these common sources, you can prevent larger issues down the line. Remember, even a small leak can lead to significant damage if left unchecked.
In summary, keeping an eye on your plumbing fixtures, toilets, and using the right tools can help you catch leaks early. This not only protects your home but also helps you save on water bills and avoid costly repairs. Stay vigilant and address any signs of leaks promptly!
Steps to Take Before Starting Leak Restoration
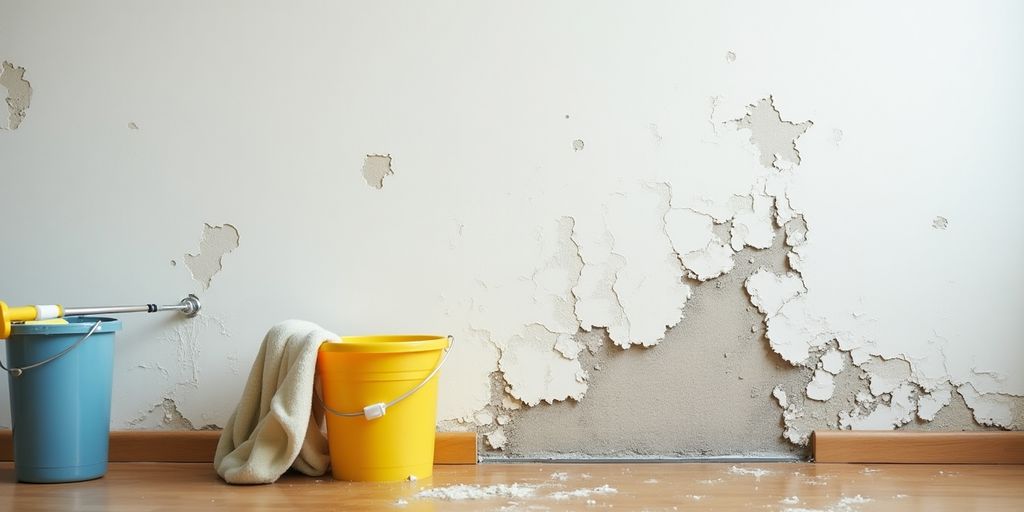
Before you begin any leak restoration work, it’s crucial to take some important steps to ensure safety and effectiveness. Here’s what you need to do:
Turning Off the Water Supply
- Shut off the main water valve to stop water from flowing through your pipes. This prevents further damage.
- If you can, close local shut-off valves for specific areas where leaks are detected.
- Open faucets to drain any remaining water in the pipes.
Draining Water Fixtures
- After turning off the water supply, make sure to drain all water fixtures:
- Flush toilets to empty the tanks.
- Run sinks and bathtubs until no more water comes out.
- This helps reduce the risk of water damage during repairs.
Gathering Necessary Tools and Materials
- Collect the tools and materials you’ll need for the restoration:
- Pipe wrenches, Teflon tape, and pipe repair clamps.
- Epoxy putty for sealing leaks.
- Replacement parts if necessary.
- Using high-quality materials is essential for a long-lasting repair.
Taking these steps seriously can help you avoid further damage and make the restoration process smoother. Remember, safety first!
Effective Techniques for Leak Restoration
When it comes to fixing leaks in your home, there are several effective methods you can use. Here are some key techniques to consider:
Using Teflon Tape and Pipe Repair Clamps
- Teflon tape is great for sealing threaded pipe joints. Wrap it around the threads before tightening the connection.
- Pipe repair clamps can be used to cover leaks in pipes. Simply place the clamp over the leak and tighten it to stop the water flow.
- Always ensure that the area is dry before applying any tape or clamps for the best results.
Applying Epoxy Putty for Sealing
- Epoxy putty is a strong adhesive that can seal leaks in pipes and fixtures.
- To use it, clean the area around the leak, mix the putty according to the instructions, and apply it over the leak. This creates a strong bond that can withstand water pressure.
- Allow the putty to cure fully before turning the water back on.
Replacing Faulty Parts
- Sometimes, the best solution is to replace damaged parts. This could include:
- Faucets that are leaking due to worn-out washers.
- Toilet flappers that fail to seal properly.
- Pipes that are corroded or cracked.
- Make sure to turn off the water supply before starting any replacements.
Remember, addressing leaks promptly can save you from costly water damage in the future. Regular checks can help you catch issues early and maintain a safe home environment.
By using these techniques, you can effectively restore leaks and protect your home from water damage. Don’t forget to monitor your repairs to ensure they hold up over time!
Testing and Monitoring After Leak Restoration
Gradually Restoring Water Supply
After completing the leak repair, it’s crucial to slowly turn the water supply back on. This helps to prevent any sudden pressure changes that could cause new leaks. Start by opening the main valve slightly and check for any immediate leaks at the repaired site.
Checking for Continued Leaks
Once the water is restored, inspect the area thoroughly. Look for signs of moisture or dripping water. Here are some steps to follow:
- Examine all repaired joints and connections for any signs of leakage.
- Check surrounding areas for water stains or dampness.
- Monitor your water meter for unusual activity when no water is being used.
Monitoring for Recurrence
Keep an eye on the repaired area over the next few days. It’s important to catch any potential issues early. Here’s what to do:
- Inspect daily for any signs of water damage.
- Listen for unusual sounds like dripping or running water.
- Use an air quality monitor to test the air of the home, as it can help detect hidden moisture problems.
Regular monitoring is essential to ensure that the leak has been fully resolved and to prevent future issues. Taking these steps can save you from costly repairs down the line.
Preventive Measures to Avoid Future Leaks
Regular Maintenance and Inspections
To keep your plumbing in good shape, make sure to regularly check your pipes and fixtures. Look for signs of wear and tear, such as rust or cracks. Regular inspections can help catch problems early before they turn into bigger leaks.
Upgrading Old Plumbing Fixtures
If your plumbing fixtures are old, consider upgrading them. Newer models are often more efficient and less likely to leak. This can save you money on water bills and reduce the risk of leaks in your home.
Installing Leak Detection Systems
Installing a leak detection system can alert you to leaks before they cause serious damage. These systems can monitor your water usage and notify you of any unusual activity, helping you act quickly.
| Measure | Benefits |
|---|---|
| Regular Maintenance | Early detection of leaks |
| Upgrading Fixtures | Improved efficiency and reduced leaks |
| Leak Detection Systems | Quick alerts to potential leaks |
Taking proactive steps to prevent future water damage is essential. Water pressure regulation is one such step; high water pressure can stress your pipes and increase the risk of leaks. Consider installing a pressure regulator to maintain safe levels.
DIY Leak Restoration Tips for Homeowners
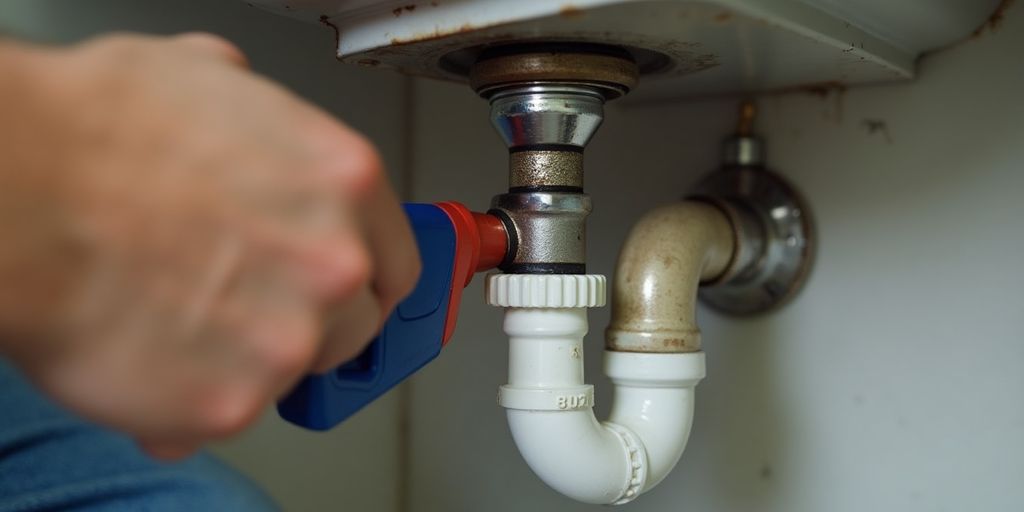
When it comes to fixing leaks in your home, there are several simple steps you can take to handle minor issues yourself. Here are some effective tips:
Fixing Dripping Faucets
A dripping faucet can be both annoying and wasteful. To fix it, start by turning off the water supply. Remove the faucet handle and stem, then replace the worn-out rubber washer. Reassemble everything, and you should be leak-free!
Repairing Leaky Toilets
Did you know that a leaky toilet can waste up to 250 gallons of water a day? To tackle this, turn off the water supply and remove the tank lid. Check the flapper for damage; if it’s worn out, replace it. Adjust the float on the fill valve if needed, then turn the water back on to see if the leak is fixed.
Sealing Pipe Joints
Pipe joints can leak due to loose connections. Start by turning off the water supply. Disconnect the fittings, clean the joint, and apply plumber’s tape or pipe sealant. Tighten the joint securely and turn the water back on to check for leaks.
Remember, taking care of leaks promptly can save you from bigger problems later on.
By following these tips, you can effectively repair water leaks and prevent future water damage to your property. If you encounter a more serious issue, don’t hesitate to call a professional for help. Ruach Home Services is dedicated to providing reliable water damage restoration services, ensuring customer satisfaction and transparency throughout the process.
Common Mistakes to Avoid in Leak Restoration
When dealing with leaks in your home, it’s important to be aware of common mistakes that can make the situation worse. Avoiding these pitfalls can save you time and money. Here are some key mistakes to steer clear of:
Ignoring Early Signs of Leaks
- Many homeowners overlook small signs of leaks, thinking they are not serious.
- Signs like damp spots, water stains, or unusual increases in water bills should not be ignored.
- Addressing these signs early can prevent bigger problems later.
Using Inappropriate Materials
- Not all materials are suitable for leak repairs.
- Using the wrong type of tape or sealant can lead to further leaks.
- Always choose materials that are specifically designed for plumbing repairs.
Neglecting Safety Precautions
- Safety should always come first.
- Make sure to turn off the water supply and check for electrical hazards before starting any repairs.
- Ignoring safety can lead to accidents or injuries.
Summary Table of Common Mistakes
| Mistake | Consequence |
|---|---|
| Ignoring early signs of leaks | Bigger damage and costly repairs |
| Using inappropriate materials | Further leaks and complications |
| Neglecting safety precautions | Risk of injury or accidents |
Remember, taking the time to avoid these mistakes can lead to a more effective and safer leak restoration process. By being proactive and informed, you can protect your home from further damage and ensure a successful repair.
When dealing with leak restoration, it’s easy to make mistakes that can lead to bigger problems. To avoid these pitfalls, make sure to act quickly, call in professionals, and follow the right steps. For more tips and expert help, visit our website today!
Final Thoughts on Leak Restoration
In summary, taking care of leaks in your home is very important. By acting quickly and safely, you can stop small problems from becoming big ones. Always find out where the leak is coming from and fix it right away. If you try to fix things yourself, be careful and know when to call a professional. Remember, drying everything properly is key to stopping mold from growing. Lastly, keep track of any damage with photos and notes, as this can help if you need to talk to your insurance later. By following these tips, you can keep your home safe and dry.
Frequently Asked Questions
What are the main signs of a water leak in my home?
Common signs of a water leak include damp or discolored walls, mold growth, musty smells, and visible puddles of water.
How can I find the source of a leak myself?
You can look for leaks by checking faucets, pipes, and toilets. Using tools like moisture meters or dye tablets can help you spot the leak’s exact location.
What should I do before I start fixing a leak?
Before fixing a leak, turn off the water supply, drain any water fixtures, and gather the tools and materials you will need.
What are some easy repairs I can do myself for minor leaks?
You can fix dripping faucets, leaky toilets, and seal pipe joints using simple tools and materials like Teflon tape and epoxy putty.
What mistakes should I avoid when repairing leaks?
Avoid ignoring early signs of leaks, using the wrong materials, and neglecting safety measures while making repairs.
How can I prevent leaks from happening in the future?
Regular maintenance, upgrading old plumbing, and installing leak detection systems can help prevent future leaks.