
Are you looking to give your home a fresh look with siding repair? This guide will walk you through everything you need to know about repairing your siding, from the tools and materials you’ll need to the techniques that will help you achieve a perfect finish. Whether you’re a beginner or have some experience, these tips will ensure that your siding repair project goes smoothly and looks great.
Key Takeaways
- Gather the right tools and materials before starting your siding repair.
- Prepare your home by removing old siding and cleaning the surface.
- Follow step-by-step techniques for measuring, cutting, and installing siding panels.
- Avoid common mistakes like ignoring instructions and improper tool use.
- Regularly inspect and maintain your repaired siding to ensure its longevity.
Essential Tools and Materials for Siding Repair
When it comes to siding repair, having the right tools and materials is crucial for a successful project. Investing in quality tools can save you time and effort. Here’s a breakdown of what you’ll need:
Must-Have Tools for Every Siding Project
- Vinyl-Siding Blade: Essential for making clean cuts.
- Nail Gun: Speeds up the nailing process.
- Measuring Tape: For accurate measurements.
- Level: Ensures your siding is straight.
Choosing the Right Siding Material
Selecting the right material is key. Here are some common options:
- Vinyl: Durable and low maintenance.
- Wood: Offers a classic look but requires more upkeep.
- Fiber Cement: Resistant to rot and pests.
Safety Gear and Precautions
Safety should always come first. Make sure to wear:
- Safety Glasses: Protect your eyes from debris.
- Gloves: Prevent cuts and scrapes.
- Dust Mask: Avoid inhaling dust and particles.
Where to Buy Quality Siding Supplies
You can find siding materials at:
- Local Hardware Stores: Convenient for quick purchases.
- Home Improvement Centers: Often have a wider selection.
- Online Retailers: Great for comparing prices and options.
Remember, proper preparation and the right tools can make all the difference in your siding repair project.
By gathering these essential tools and materials, you’ll be well on your way to a successful siding repair that enhances your home’s appearance and durability. Don’t forget to check for any raised edges around the area you’re repairing, as this can affect the overall finish!
Preparing Your Home for Siding Repair
Before starting any siding repair, it’s crucial to get your home ready. This preparation helps ensure a smooth process and a successful outcome. Here are some important steps to follow:
Assessing the Condition of Your Existing Siding
- Check for any visible damage like cracks or rot.
- Look for signs of moisture or mold inside your home, which could indicate siding issues.
- Make a note of any areas that need special attention during the repair.
Removing Old Siding Safely
- Carefully take off the old siding to avoid damaging the underlying structure.
- Use the right tools, such as a pry bar and a hammer, to remove nails and fasteners.
- Dispose of the old siding properly to keep your work area clean.
Cleaning and Prepping the Surface
- Clear away any debris or dirt from the walls.
- Ensure the surface is dry and free from mold or mildew before applying new siding.
- If necessary, repair any damaged areas of the wall underneath the siding.
Setting Up a Safe Work Environment
- Move any outdoor furniture or plants away from the work area.
- Make sure to park your car elsewhere to avoid damage from falling debris.
- Keep children and pets away from the work zone to ensure their safety.
Preparing your home properly can make a big difference in the quality of your siding repair. It sets the stage for a successful project and helps avoid common pitfalls.
By following these steps, you can ensure that your home is ready for the siding repair process, leading to a flawless finish that enhances your home’s appearance and protects it from the elements.
Step-by-Step Siding Repair Techniques
Measuring and Cutting Siding Panels
To start your siding repair, you need to measure and cut the siding panels accurately. Using the score and snap method with a utility knife is a great way to make straight cuts. Here’s how:
- Score the siding along the cut line with your utility knife.
- Apply pressure to snap the siding along the scored line.
- Repeat for any additional cuts needed.
Installing Starter Strips and Corner Posts
Once your panels are cut, it’s time to install starter strips and corner posts. This step is crucial for a solid foundation. Here’s what to do:
- Install starter strips at the bottom of the wall.
- Ensure corner posts are vertical and aligned.
- Use a level to check your work.
Proper Nailing and Fastening Methods
When attaching the siding panels, it’s important to nail them correctly. Here are some tips:
- Use corrosion-resistant fasteners like aluminum or galvanized nails.
- Space the nails about every 16 inches apart.
- Don’t nail too tightly; leave room for expansion and contraction.
Sealing and Caulking for Weatherproofing
To protect your home from the elements, sealing and caulking are essential. Follow these steps:
- Apply caulk around windows and doors to prevent leaks.
- Use a weatherproof sealant on seams and joints.
- Check for gaps and fill them to ensure a tight seal.
Remember, proper installation not only enhances the look of your exterior but also extends the life of your siding, potentially saving you money on future repairs or paint jobs.
By following these steps, you can achieve a professional-looking installation and prevent water damage. Don’t forget to check your work regularly to ensure everything is aligned and secure!
Common Mistakes to Avoid in Siding Repair
Ignoring Manufacturer’s Instructions
One of the biggest errors homeowners make is overlooking the specific guidelines provided by the manufacturer. These instructions are designed to ensure the best performance of the siding. Ignoring them can lead to early failures and void warranties.
Improper Use of Tools and Fasteners
Using the wrong tools or fasteners can compromise your installation. It’s essential to use the right equipment for your siding material to avoid damage and ensure a secure fit. Here are some common tools you should have:
- Hammer
- Level
- Measuring tape
- Utility knife
Neglecting Proper Overlap and Ventilation
Proper overlap of siding panels is crucial to prevent water from seeping behind them. Additionally, ensuring adequate ventilation is vital to avoid moisture buildup, which can lead to rot and mold. Always check for proper installation to maintain your home’s integrity.
Overestimating DIY Abilities
Many homeowners are enthusiastic about DIY projects but may not have the necessary skills for siding installation. This can lead to costly mistakes. It’s important to recognize when to call in professionals to avoid future expenses.
Remember, taking shortcuts can lead to bigger problems down the line. Always prioritize quality over speed in your siding repair projects.
By avoiding these common mistakes, you can ensure a more successful siding repair that enhances your home’s appearance and durability. Investing in the right techniques and tools will pay off in the long run.
Advanced Tips for a Flawless Siding Finish
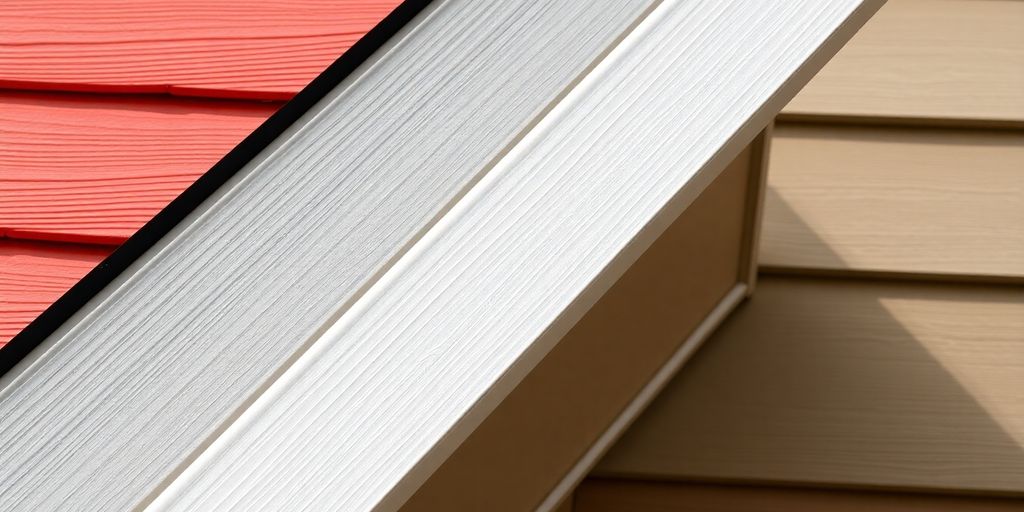
Techniques for Clean, Invisible Seams
To achieve a flawless finish, focus on creating clean seams. Properly cut and fitted siding will ensure a polished appearance. Here are some tips:
- Use a vinyl-siding blade for precise cuts.
- Ensure that seams are staggered to avoid visible lines.
- Apply a thin bead of caulk to fill any gaps for a seamless look.
Custom Fitting Around Windows and Doors
When working around windows and doors, custom fitting is essential. Follow these steps:
- Measure the area accurately to avoid gaps.
- Use J-channel to secure siding around openings.
- Leave a small gap for expansion to prevent buckling.
Using Crimping Tools for a Secure Fit
Using crimping tools can help you achieve a tight seal. Here’s how:
- Apply even pressure while crimping to avoid gaps.
- Work in small sections for uniform results.
- Inspect each crimp to ensure it’s secure and free from loose spots.
Applying Finishing Touches to Prevent Water Intrusion
Finishing touches are crucial for preventing water damage. Here’s what to do:
- Inspect the entire installation for gaps.
- Apply a waterproof sealant along the top edge where siding meets the soffit.
- Regularly check for wear and tear to maintain the integrity of your siding.
Remember, attention to detail during installation can save you from costly repairs later on. By following these advanced tips, you can ensure your siding not only looks great but also stands the test of time.
Maintaining Your Repaired Siding
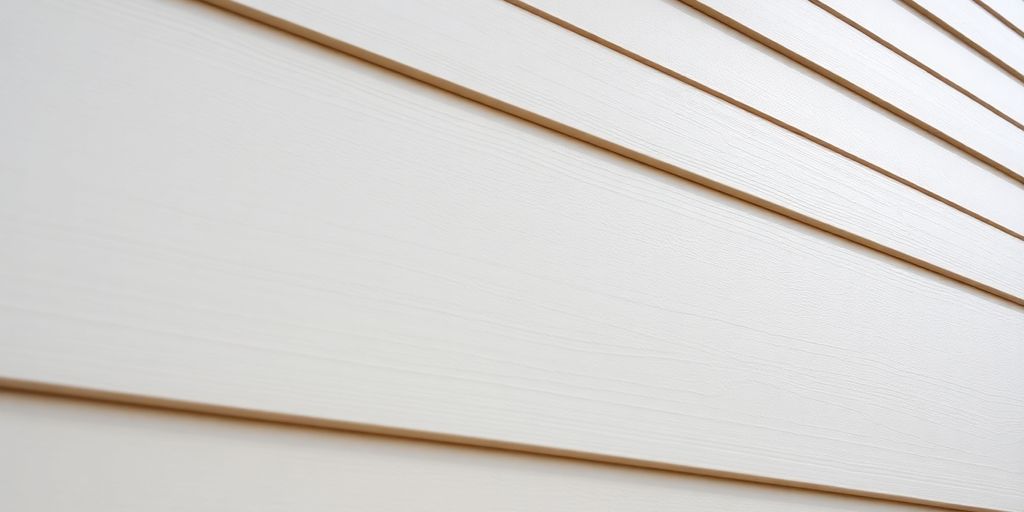
Regular Inspection and Cleaning Tips
To keep your siding looking great and functioning well, regular inspections are key. Here are some tips:
- Check for cracks, chips, or signs of wear at least twice a year.
- Clean the siding with a gentle soap solution to remove dirt and mildew.
- Inspect around windows and doors for any gaps or leaks.
How to Handle Minor Repairs
If you notice small issues, you can often fix them yourself. Here’s how:
- Fill in small cracks with exterior-grade caulk.
- Replace any damaged panels or boards promptly.
- Touch up paint or finish to prevent further damage.
Protecting Siding from Weather Damage
Weather can be tough on your siding. To protect it:
- Trim back any trees or shrubs that may touch the siding.
- Ensure gutters are clean and directing water away from the house.
- Consider applying a protective sealant every few years.
When to Call a Professional for Help
Sometimes, it’s best to get expert help. You should consider calling a professional if:
- You notice extensive damage or rot.
- You’re unsure how to fix a problem.
- You want a thorough inspection after severe weather.
Keeping your siding in good shape not only enhances your home’s appearance but also protects it from the elements. Regular maintenance is essential for a long-lasting finish.
Remember, maintaining your siding is an ongoing process that can save you money in the long run. If you need help, don’t hesitate to reach out to professionals who specialize in remodeling services for expert advice and assistance.
Taking care of your repaired siding is essential to keep your home looking great and protected. Regular checks for any damage, cleaning, and maintenance can help extend its life. If you need expert help or have questions, visit our website for more information and to schedule an appointment!
Conclusion
In conclusion, learning how to properly install siding is key to making your home look great and keeping it safe. By using the right methods, like starting with wider strips and adding kick-out flashing, you can protect your home from water damage and make your siding last longer. Paying attention to small details, such as overlaps and corner posts, helps create a neat appearance while keeping your home strong. If you follow these helpful tips and use tools like zip tools for fixes, you can achieve a professional look that boosts your home’s charm and stands up to the weather for years.
Frequently Asked Questions
Can I put up vinyl siding by myself?
Yes, you can install vinyl siding on your own, but it takes time and skill. You will need some tools and a good guide to help you. If you have never done it before, hiring a professional might be a better choice.
What is the biggest mistake people make when putting up vinyl siding?
The most common mistake is not leaving enough overlap between the siding panels. You should aim for about 1 to 1.25 inches.
What should I place under vinyl siding?
You need to use a weather-resistant barrier under the siding, like tar paper or special wraps like HardieWrap or Tyvek.
Should I nail the starter strip for vinyl siding tightly?
No, don’t nail the starter strip too tightly. Leave a little space so the vinyl can move as it expands and contracts.
How do beginners install vinyl siding?
Start by nailing J-channel pieces under the roof edge, then put up soffit pieces and the starter strip. Measure your walls, put up corner posts, and finish by adding J-trim around doors and windows.
What tools do I need for siding repair?
You will need basic tools like a utility knife, measuring tape, caulking gun, and a clean cloth for prep work.